With Victor Pesch
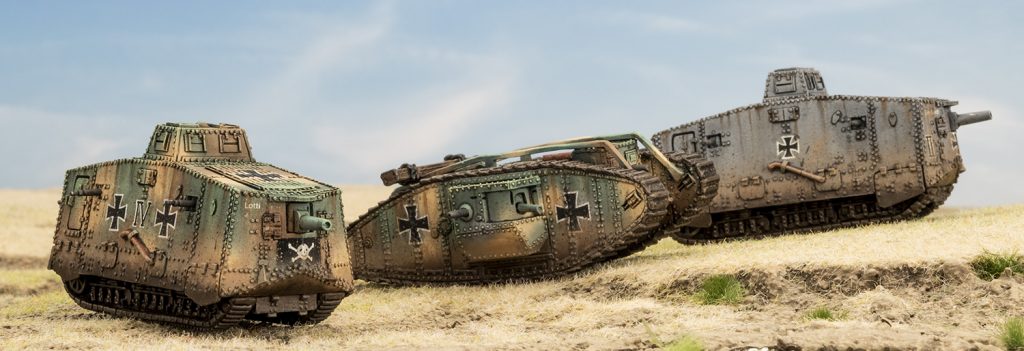
Great War tanks offer an opportunity to try some weathering techniques due to their large flat armoured surfaces and the conditions they were fighting in.
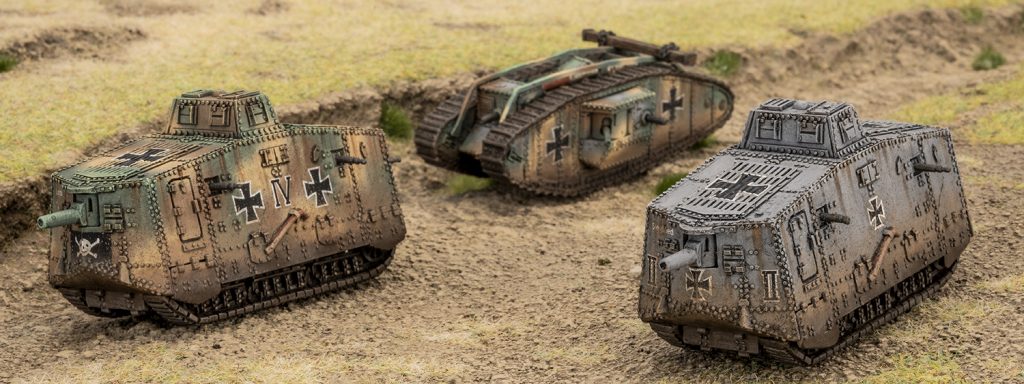
Here are some simple techniques I’ve used on my German tanks that might help you get that weathered look quickly.
Rain/ Rust Streaks
Scale modellers often use oils and white spirits to achieve great streaking effects, but this requires specialty products, advanced techniques, and a gloss coat prior to the streaking. I went with an easy alternative using two paints from the Vallejo range that can be applied after you’ve finished the base coats and shading on your tanks.
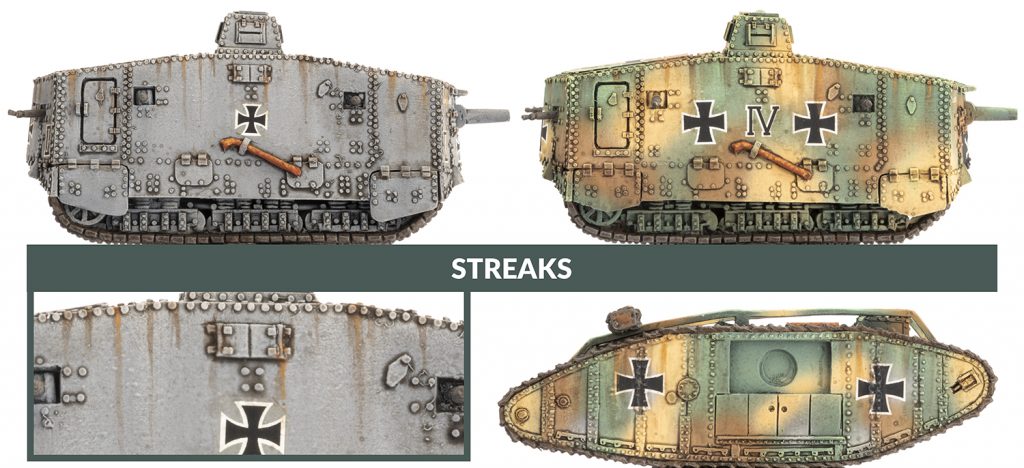
First I used Sepia Wash (200) to flick down from the top of the tanks sides, and also made some longer lines downward. I used my finger to feather the tails of these lines while it was still wet. Then I did the same but this time using Light Brown (929) and focusing on the centre of some of the bigger streaks. You can experiment using varying shades of brown and orange to find a combination that works well with your chosen camouflage colours.
Mud
Mud looks very different when it’s dry versus when it’s wet, so I’ve tried to replicate this effect with two Vallejo colours and a wash.
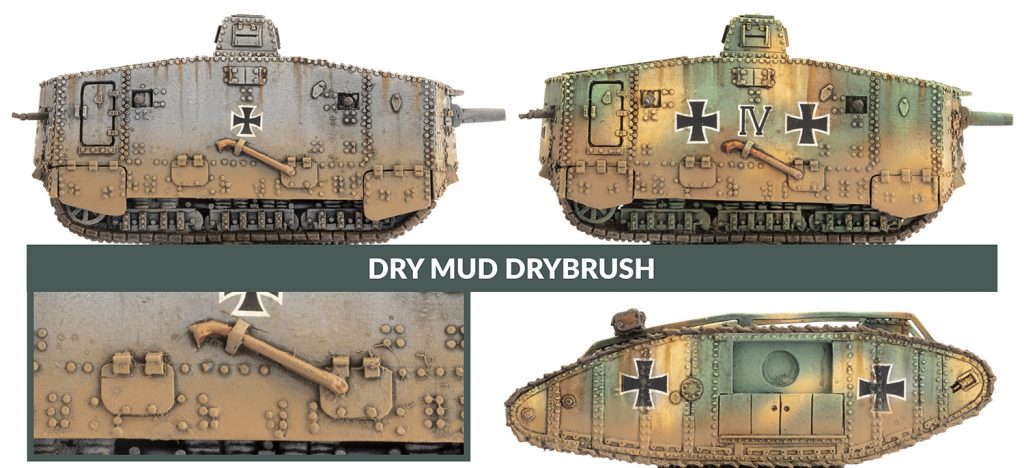
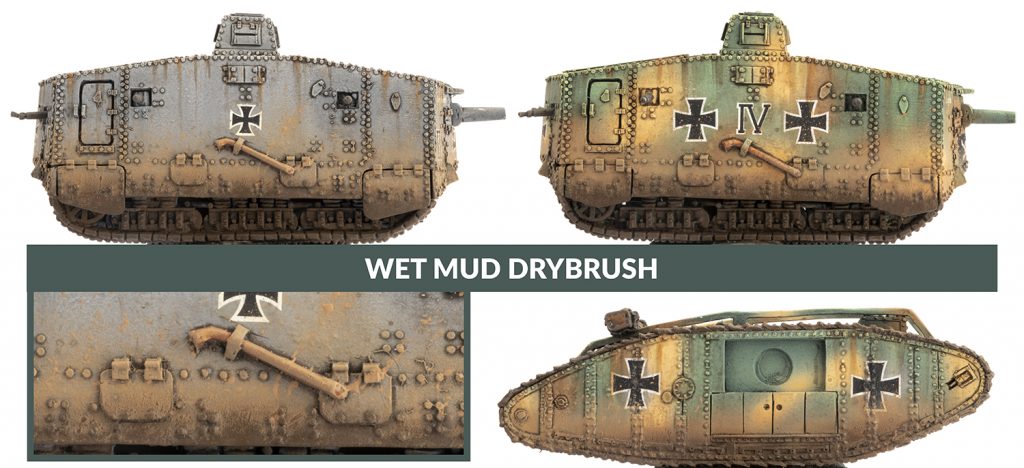
To start off I dry-brushed some Tan Earth (874) around the lower half of the tanks, trying not to go too high up the sides.
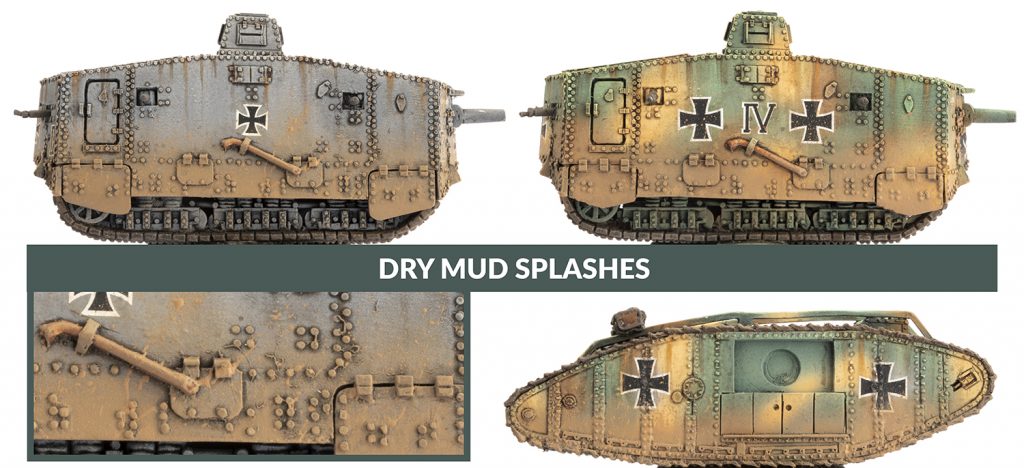
Next I used more of the same colour but this time using a stiff bristled brush and a toothpick to flick paint onto the tank, simulating dried mud splashes. Be subtle with this as a little goes a long way.
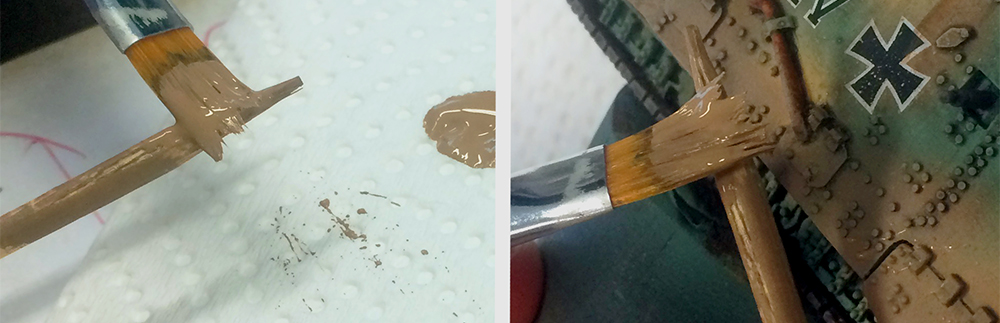
Practice on something first to get a feel for how hard to flick the bristles. If you get any big globs you’re not happy with you can wick them away with a moistened brush.
With the dried mud applied, I then used Chocolate Brown (872) for the darker wet mud. I again dry-brushed around the bottom of the tanks, but trying to only cover about half as much as I did with the dried mud. I also got mud into the running gear on the A7Vs.
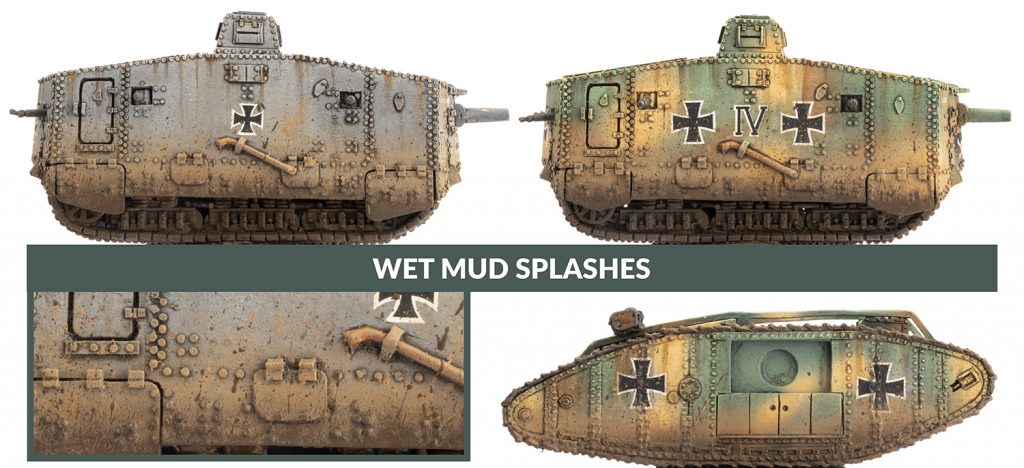
I then repeated the flicking technique again with this darker colour for wet splashes, being careful to keep it to the lower areas.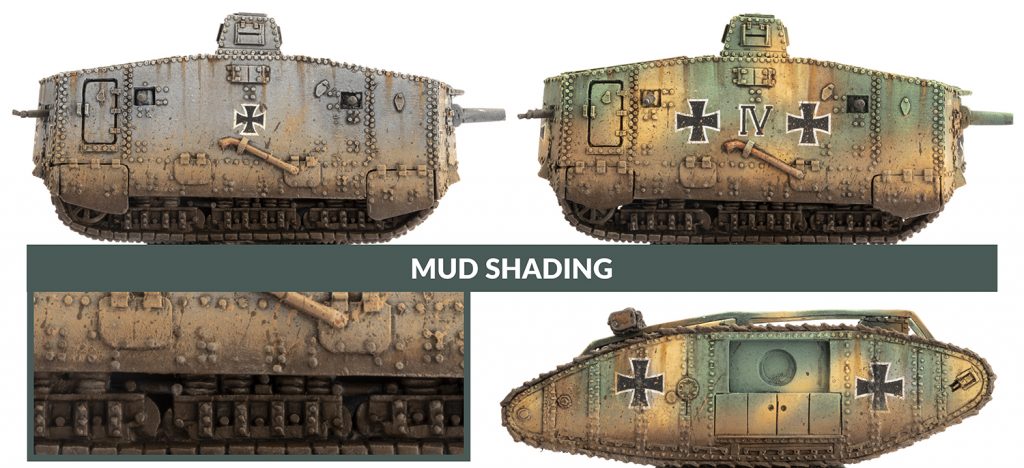
To add some shading back to the mud areas I applied some Sepia Wash (200) in the recesses.
Again you can use different colours for your dirt and mud, just try to stick to lighter tones for dry mud, and darker tones for wet mud. You might like to use the same colours that you’ve used for the basing of your infantry to really tie your force together.
Have fun getting messy with your tanks, and I’d love to see everyone’s results in the Great War Facebook group.
~Victor
